Nearly 2 years ago, I became a Cord-Cutter. I couldn’t see the sense in paying a ton of money every month for 500 channels that I didn’t watch, just so that I could catch the occasional show.
I invested in Netflix and Hulu Plus accounts so that I could watch most of my shows, and for the shows that haven’t made their way into the 21 century yet, there are plenty of places online where you can acquire the latest episodes.
If you read my previous post on converting Blu-ray and DVD movies to MP4, this process has a slightly different flow.
Crash Course in Digital Video Formats
These days, if you (ahem) acquire a high-definition copy of your favorite show online (commonly in 720p), it will most likely be in MKV/H.264/AC3 format.
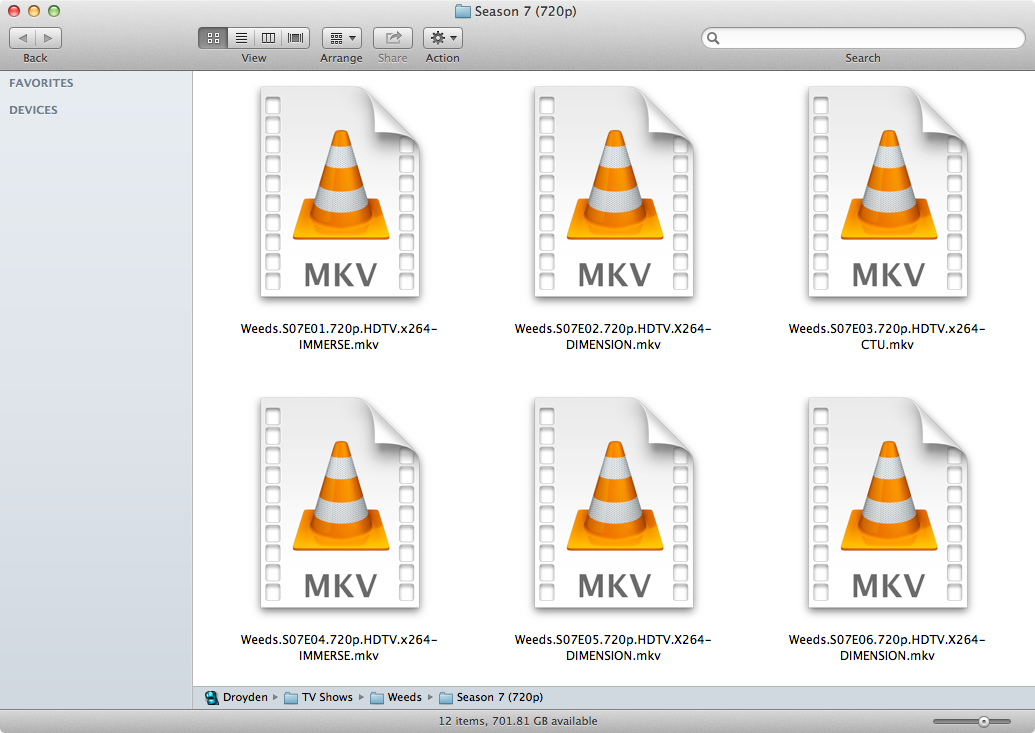
The short explanation is that every video file is made up of 3 different parts: the video stream, the audio stream, and the container. The audio and video are synced-up (a.k.a., “multiplexed” or “muxed”) and are bundled together into a single file using a container format.
If you want to make yourself a little more educated about this stuff, check out the “Video on the Web” chapter of Dive Into HTML5 by Mark Pilgrim.
MKV is a popular container format because it’s designed to be a kitchen sink. You can throw all sorts of stuff inside this container, so people like to stash it full of subtitle files and other sorts of things. AC3 is the name of the Dolby Digital surround-sound audio format. You typically need a dedicated decoder ship to handle this kind of audio, which is common in modern receivers and some TVs.
MKV → MP4
The first thing we need to do download a copy of MP4Tools.
While you can use it without a license, it’s always a good idea to support the independent software developers who write this stuff — especially if its useful.
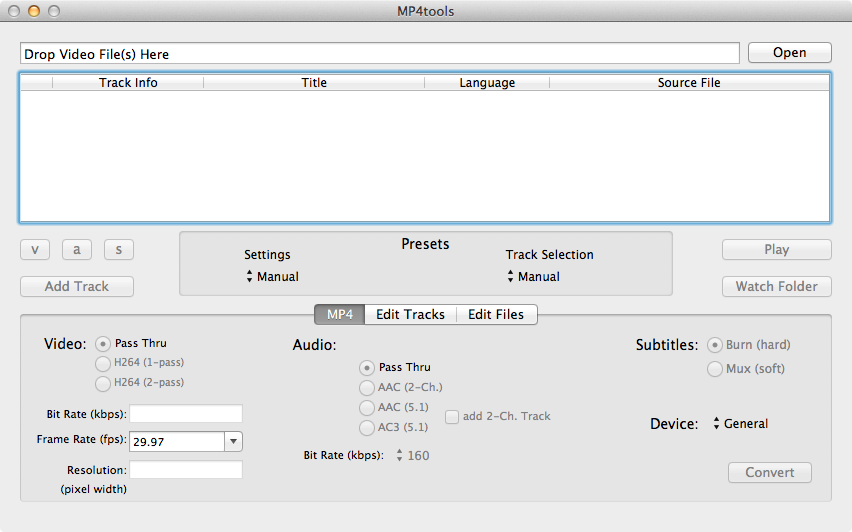
When you drag your MKV file into MP4Tools, you should see two entries — the video stream and the audio stream.
The video stream should already be in H.264 format. (If it isn’t, stop what you’re doing and run the file through Handbrake instead.) Check the box next to the stream to select it.
If the audio stream is already in AAC format, this will be very simple. If the audio stream is in AC3 format, this will still be simple, but will take a little longer to complete.
-
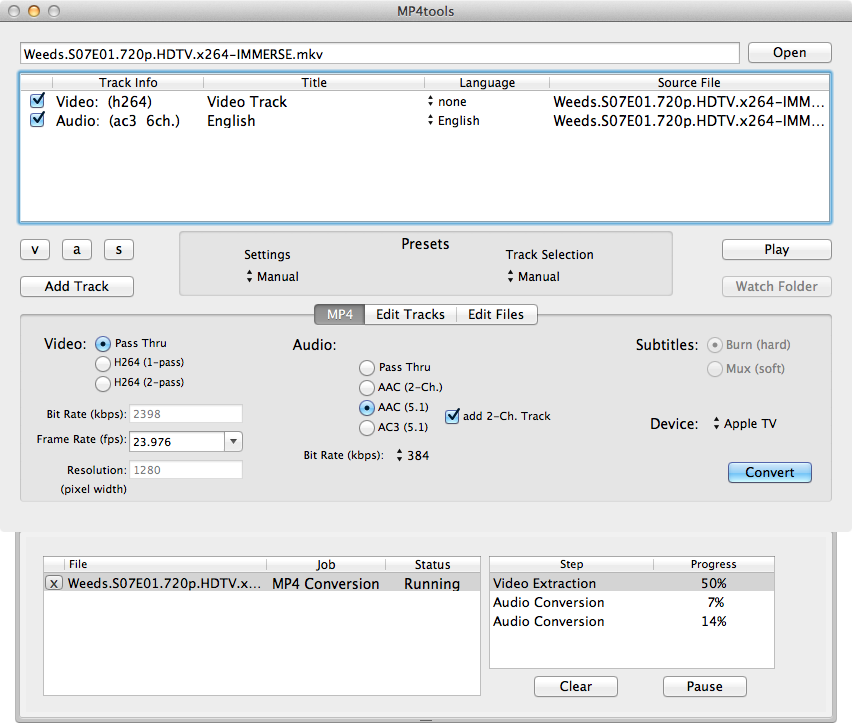
For H.264 video, choose Pass Thru.
-
For AAC audio (if available), choose Pass Thru.
-
For AC3 audio (if available), choose the highest AAC audio selection you have available (either AAC (2-Ch.) or AAC (5.1)). If you selected AAC (5.1), also check the box for add 2-Ch. Track.
Lastly, choose your intended device. The Apple TV setting tends to have the broadest compatibility in my experience. Leave everything else as the default setting, and click the Convert button.
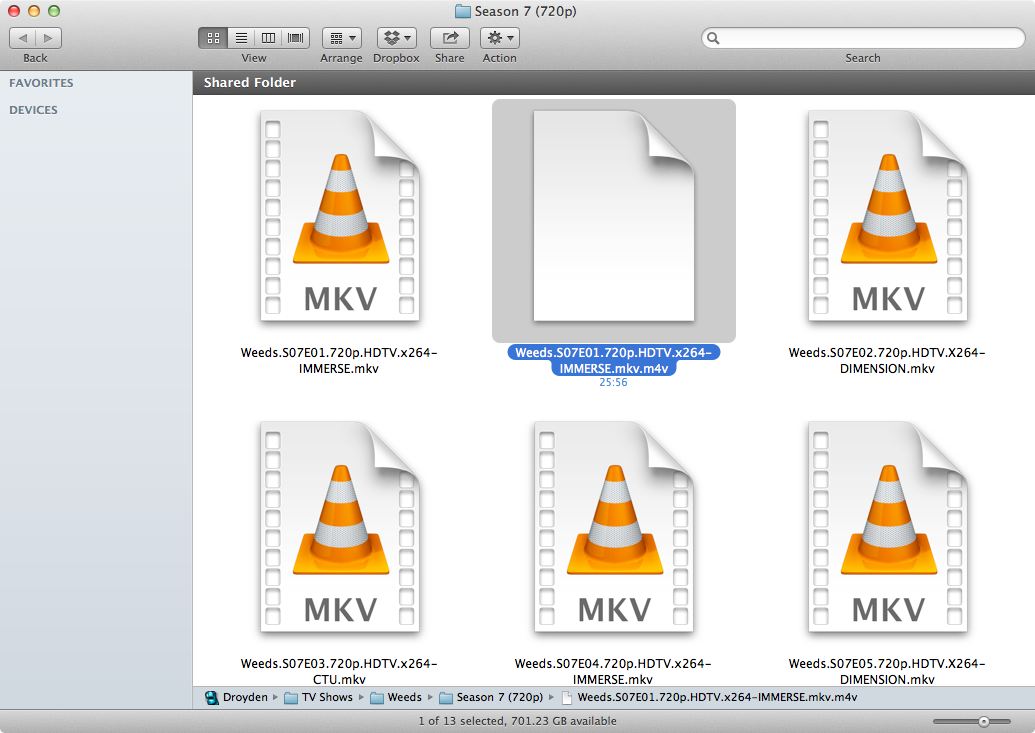
In a few minutes, you should have a new .m4v file.
Metadata and Artwork
It’s possible that you may have heard of AtomicParsley, MetaX or MetaZ before. They all suck. Check out Subler instead.
Once you have your .m4v file, you’ll want to add the metadata and artwork to the file. As long as the video file starts with a format similar to <show>.s<#>e<#> (e.g., Weeds.s7e1), Subler will be able to determine the right things to search for.
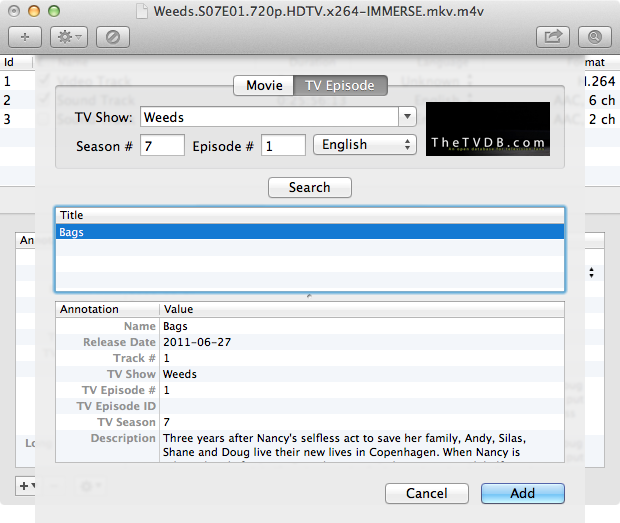
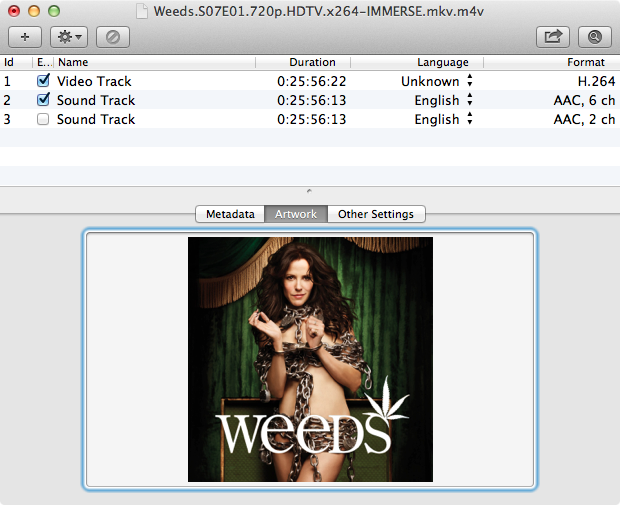
Subler queries TVDB for TV show data, although I’m generally unimpressed with the TV show artwork. For that, I use Get Video Artwork and download the iTunes-compatible, square-shaped TV show artwork.
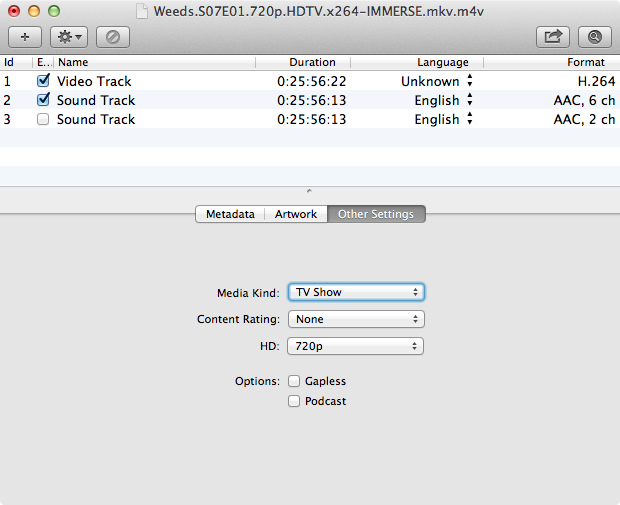
While Subler does a good job of checking the right boxes automatically, you’ll want to check the Other Settings and make sure that the resolution and media kind are set correctly for your new .m4v file.
Renaming
I prefer to keep my video files sorted by <show>/<season>/<file>. I also go so far to name my files as S.E - Title.mp4 (e.g., a recent episode of Supernatural was labeled 8.15 - Man’s Best Friend with Benefits).
Going episode-by-episode can be very tedious, so I wrote up a Mac OS X service to handle this for me. The only prerequisite is to install a package called mp4v2 from MacPorts.
sudo port install mp4v2
Once you’ve installed MacPorts (if you hadn’t already) and the mp4v2 package, you can install the OS X service by double-clicking it. (It’s an Automator action, so feel free to take a look at what it does before installing it.)
With everything installed, you can now right-click on one or more video files, choose Services, then “Rename video to 1.01 - Title.mp4”.

Within a few seconds, the Automator workflow will read the contents of the video file for the season number, episode number, and episode title, and rename the file automatically.

Streaming from iTunes
I’ve already covered this in my previous post, so I’m not going to go over it again here.
Once it’s in iTunes, you can sync shows to your smartphone, iPad, or stream them to a variety of devices throughout your home.