You can either spend money on iPhone ringtones on the iTunes Store, purchase an application that makes them for you, or you can make your own for free.
I make all of my own ringtones from music that I already own. There are a few steps involved here, but overall, the process is pretty straightforward.
Getting Started
-
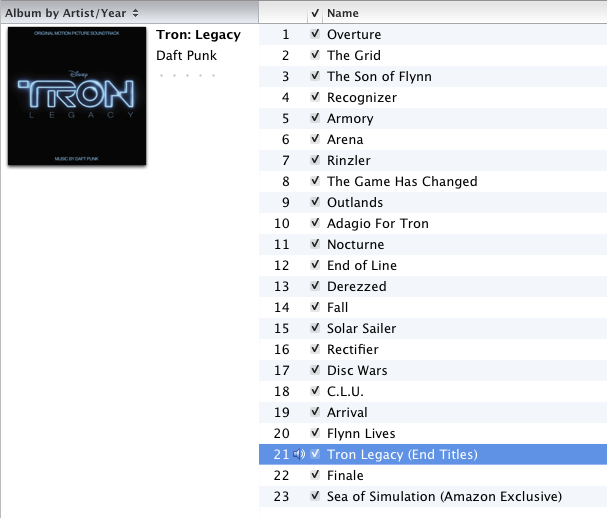
The first thing you’ll need to do is find a song that you want to convert into a ringtone.
iPhone ringtones can only be 30 seconds long, so if you find something you like that’s 30 seconds or shorter, skip directly to step 9. Otherwise, I’ll walk you through the process of editing down a longer song into a 30-second ringtone.
-
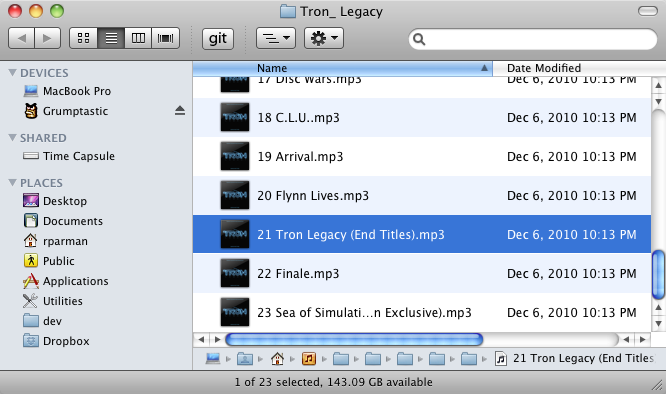
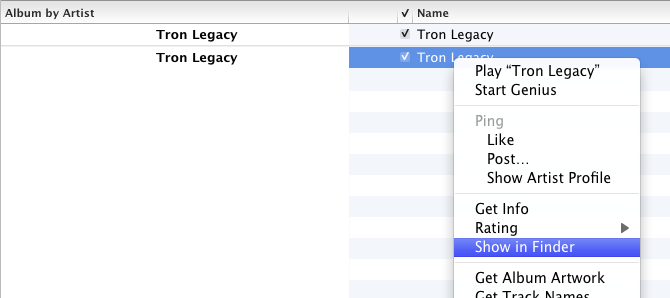
Once you’ve selected the song you want to use, right-click (or control-click if you have a one-button mouse), and choose the option that will allow you to see the file itself. On Mac OS X, this is Show in Finder. On Windows, this is Show in Explorer.

-
Once the window opens containing the song, make a copy of it somewhere — preferably your desktop.
-
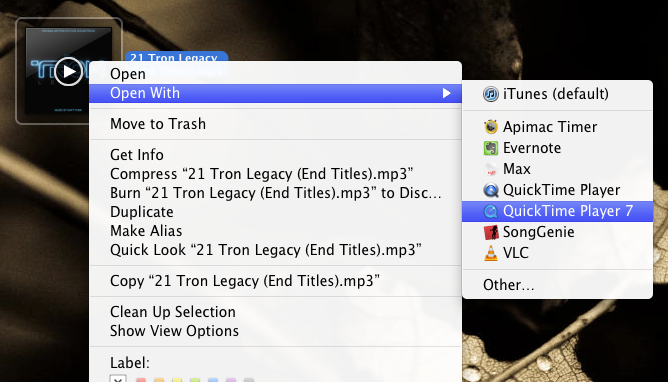
Open the file using the latest version of QuickTime 7, which is QuickTime 7.6.6 for Mac OS X or QuickTime 7.6.9 for Windows.
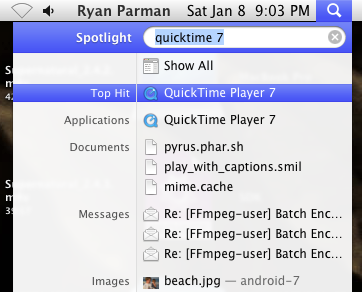
Note: If you’re running Mac OS X 10.6 “Snow Leopard”, it’s possible that you have the newer QuickTime X installed, but not the older QuickTime 7. Unfortunately, because QuickTime X was completely re-written from scratch, its player does not yet editing and exporting in other formats. If you’re not sure whether or not you have QuickTime 7 installed, you can use Spotlight to search for quicktime 7.
-
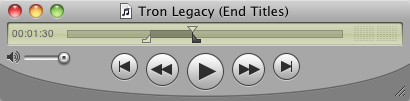
Using the small arrows at the bottom of the timeline, decide which 30 seconds of the song you want to use for your ringtone.
-
From the menubar, choose Edit > Trim to Selection.
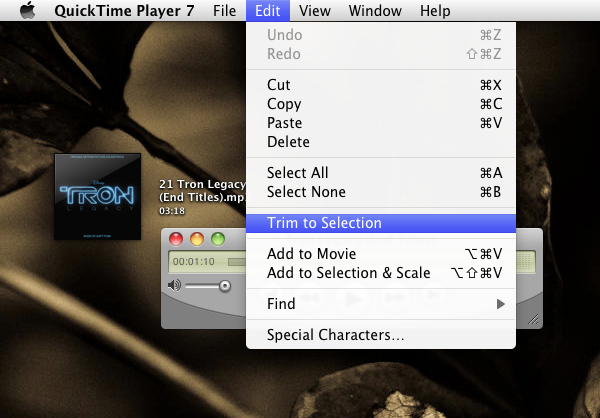
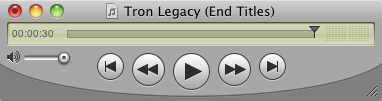
This will shorten the length of the entire song to just the 30 second clip you created.
-
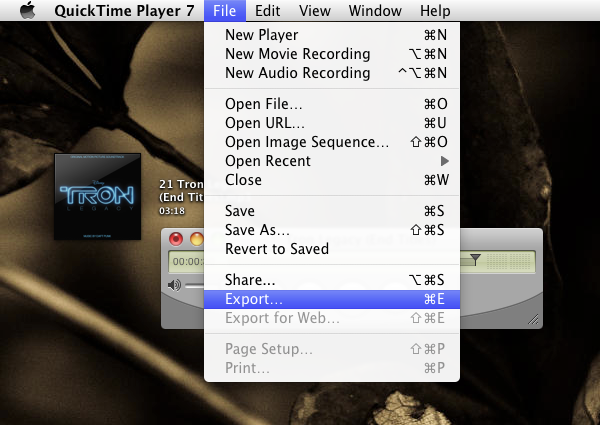
From the menubar, choose File → Export.
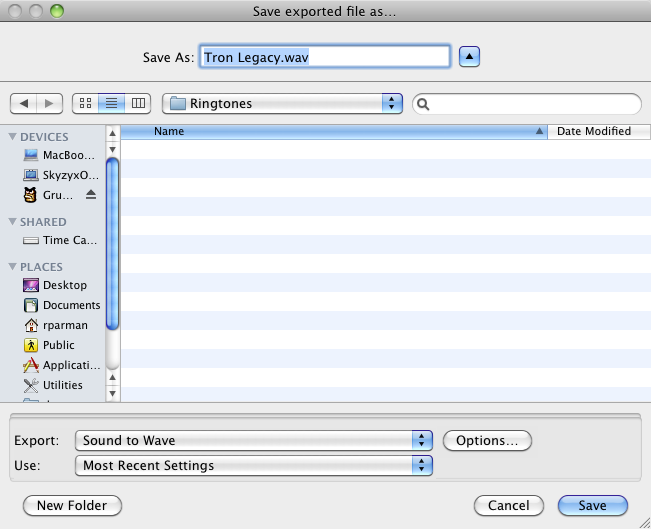
When the dialog box comes up, choose where you want to save the file to (I would recommend your Desktop), and change the Export selection at the bottom to Sound to Wave. Choose Save.
-
Once you’ve saved the 30-second clip as a
.wavfile, drag it into iTunes.
-
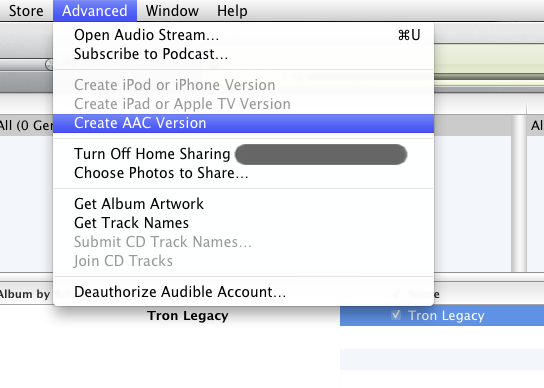
From the menubar, choose Advanced → Create AAC Version.
-
You should now have the original
.wavversion, and a new.m4aversion. (If you’re interested in learning about why AAC files have an.m4afile extension, read the Audio Codecs section of Dive Into HTML5.)Right-click (or control-click if you have a one-button mouse) on the new file, and choose the option that will allow you to see the file itself. On Mac OS X, this is Show in Finder. On Windows, this is Show in Explorer.
-
Select the
.m4afile, and change its file extension to.m4rinstead.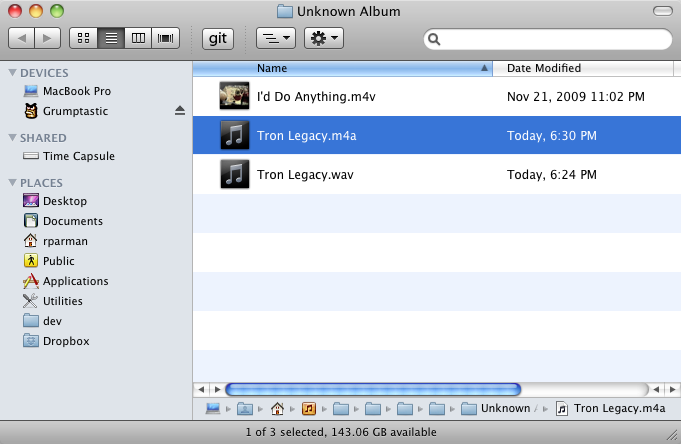
Mac OS X will ask you if you’re sure you want to change the file extension to
.m4r. Choose Use .m4r.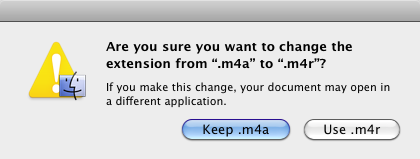
-
Back in iTunes, you can delete the
.wavand.m4afiles from your library. You won’t need them anymore.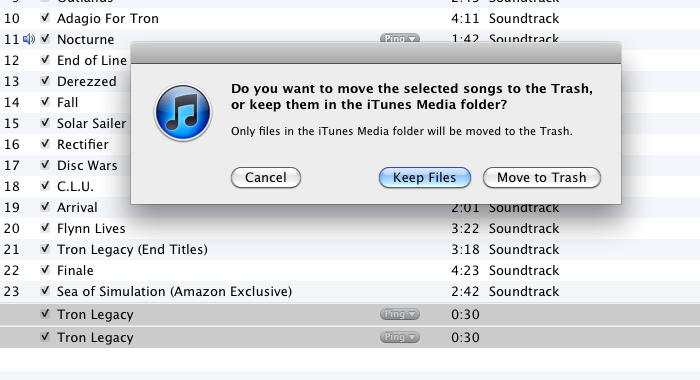
-
Drag the new
.m4rringtone we created into iTunes. Unless you removed it in your Preference, you should see an option for Ringtones in the sidebar.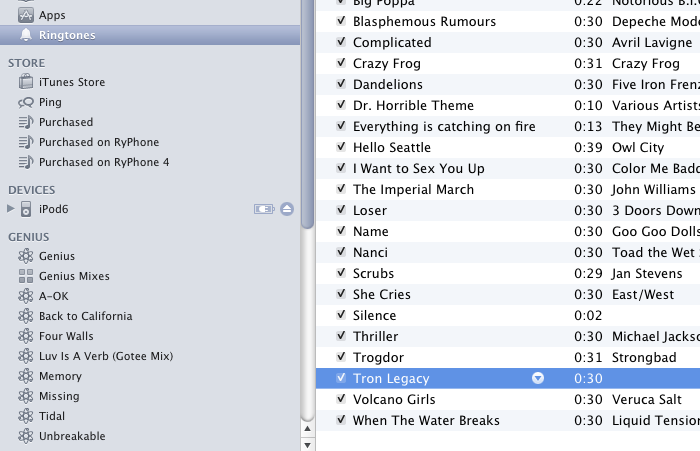
-
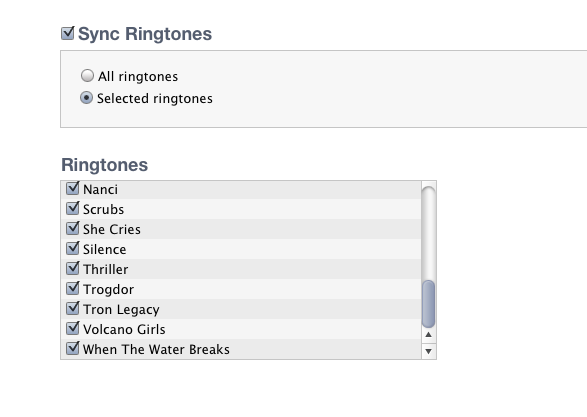
If you haven’t done it already, connect your iPhone to iTunes. Select your iPhone in the sidebar, then choose Ringtones from the bar along the top. From there, you can either sync all ringtones, or selected ringtones. If you prefer to do the latter, make sure that the checkbox next to your new ringtone is checked.
-
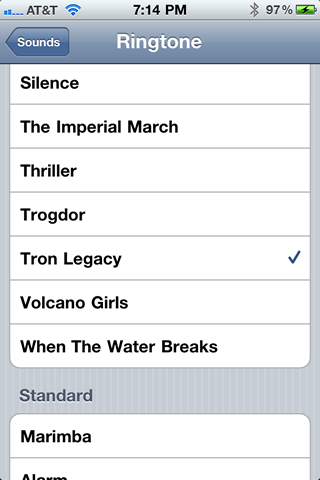
Sync your iPhone. Once it completes, pick up your iPhone and launch the Settings app. Next, go to the Sounds option. From there, you can change your various sound settings.