With the impending shutdown of HipChat (February 2019), my team has been working hard on migrating everything over to Slack. Why not have some fun while we're at it?

Slackmoji
Firstly, what is Slackmoji? Slackmoji (the word) refers to Slack + emoji — namely, the custom emoji you can add to your Slack account. It adds a bit of color and personality to the default Slack experience. Since I work in technology and the web, my set of Slackmoji tends to be Mac/Web/Browser-centric.


There are a few things I’ve learned as I’ve been creating my own slackmoji recently.
-
128 pixels is a pretty solid target for the size of the image — especially animated GIFs. Anything smaller and you end up with some nasty dithering around the edges of the animation.
-
Similar to emoji in iMessage (iOS), emoji-only lines will be at one size (32 points), while emoji+text lines are smaller (24 points).
-
When converting an Animoji recording into an animated GIF, expect you’ll need to edit each PNG frame to remove as much whitespace (and get as much character on-screen) as possible.
Before We Begin…
While it’s possible that you can adapt these instructions to another platform, this tutorial is written assuming that:
-
You have a modern iOS device (like an iPhone or iPad), that is running at least iOS 11, and is signed into your iCloud account.
-
You have a modern Mac that is logged into the same iCloud account as your iOS device. In other words, you can receive your iMessages on your Mac.
-
You are not afraid of the Terminal, and you have Homebrew already installed.
Animated iMessage Stickers
Send yourself a sticker
Start out by sending yourself an iMessage sticker from one of your favorite iMessage apps. In my case, I’m going to use the Heart Container sticker from Zelda: Breath of the Wild. You can use whatever (animated) sticker you’d like.
Receive the sticker and save it
Once the message has come through in Messages on your Mac, you can drag the image into a folder in Finder. I would recommend renaming it to something more memorable.
Process the images into something usable
In Terminal, install FFMPEG and Imagemagick using Homebrew.
brew install ffmpeg imagemagick
How to make GIFs with FFMPEG and Imagemagick animated GIF layers showing through transparency were helpful in figuring this out.
#! /usr/bin/env bash
set -exo pipefail;

find . -maxdepth 1 -type f -name '*.png' \
    | xargs -P $(nproc) -I {} bash -c '
        ff=$(basename -- "${1%.png}");
        if [ ! -f "${ff}.gif" ]; then
            mkdir -p "/tmp/${ff}" && \
            ffmpeg \
                -i "$1" \
                -filter_complex "[0:v] fps=12,scale=w=128:h=-1,split [a][b];[a] palettegen=stats_mode=single [p];[b][p] paletteuse=new=1" \
                -y "/tmp/${ff}/%05d.png" && \
            convert -dispose 2 "/tmp/${ff}/*.png" "${ff}.gif" && \
            rm -Rf "/tmp/${ff}";
        fi;
    ' _ {} \;
Let’s break this down:
-
Find all files in the current directory that end with
.png.find . -maxdepth 1 -type f -name '*.png' -
Pipe those results into
xargs. Parallelize the processes according to the number of cores you have (nproc). Each process will be abashprocess.xargs -P $(nproc) -I {} bash -c ' ... ' _ {} \; -
Figure out the filename of the input, without the file extension. Save this value into the
ffvariable.ff=$(basename -- "${1%.png}"); -
Only process the files if we do not already have a same-named GIF file.
if [ ! -f "${ff}.gif" ]; then ... fi; -
We’ll use the
/tmpdirectory for our processing. Let’s create a working directory with the name of the image.mkdir -p "/tmp/${ff}" -
Here’s the complex part.
-
We call FFMPEG and specify our input file with
-i. -
We specify a set of complex rules using
-filter_complex, but they key takeaways are that:-
Set frames per second to 12.
-
Set the width to 128px, and the height as auto.
-
We will pre-process the PNG first to generate a color palette, and the GIF processor will use this to help create better-colored images and cleaner transparency.
-
-
We set
-yto overwrite any existing files. -
We use some
bashgoodness to create filenames for each frame as a 5-digit value.
ffmpeg -i "$1" \ -filter_complex "[0:v] fps=12,scale=w=128:h=-1,split [a][b];[a] palettegen=stats_mode=single [p];[b][p] paletteuse=new=1" \ -y "/tmp/${ff}/%05d.png" -
-
Use the
convertcommand to read all of the PNG files and write a new GIF file.convert -dispose 2 "/tmp/${ff}/*.png" "${ff}.gif" -
Let’s clean up after ourselves by deleting our working directory.
rm -Rf "/tmp/${ff}";
Cleaning up

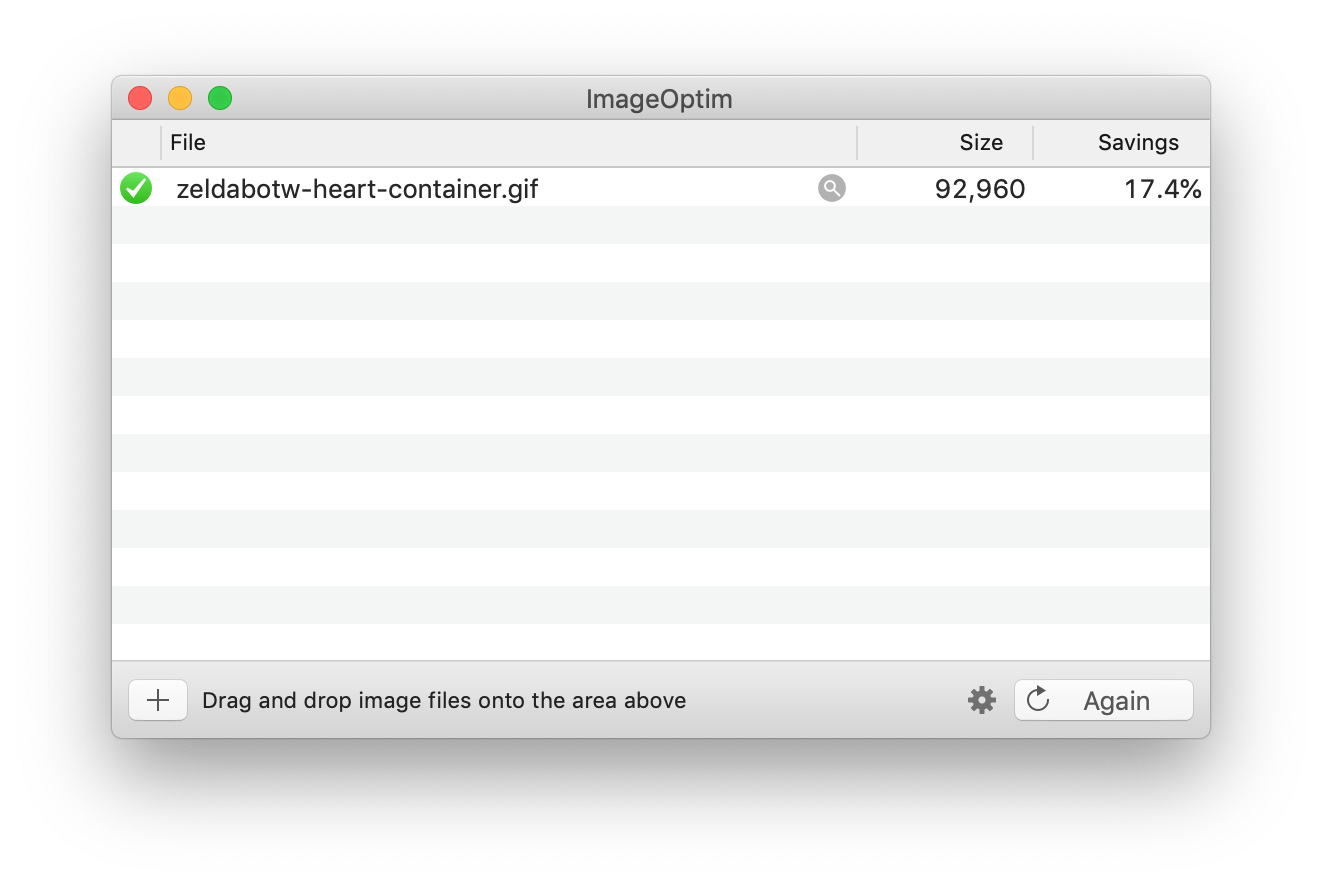
Using ImageOptim to squeeze unnecessary data out of your images.
At the end, you will have a new animated GIF image that you can upload into Slack. 
Converting Animoji or Memoji videos
Sending/receiving videos
This is done the same way as stickers. Follow the same process to get a file into Finder.
Process the images into something usable
Overall, this is the exact same process, only we’re going to stop mid-way and edit the frames.
-
I’ve already explained what most of this does above, but this step is essentially extracting all of the frames in the video into a working folder under the
/tmpdirectory.find . -maxdepth 1 -type f -name '*.mov' \ | xargs -P $(nproc) -I {} bash -c ' ff=$(basename -- "${1%.mov}"); if [ ! -f "${ff}.gif" ]; then mkdir -p "/tmp/${ff}" && \ ffmpeg \ -i "$1" \ -filter_complex "[0:v] fps=12,scale=w=300:h=-1,split [a][b];[a] palettegen=stats_mode=single [p];[b][p] paletteuse=new=1" \ -y "/tmp/${ff}/%05d.png" fi; ' _ {} \; -
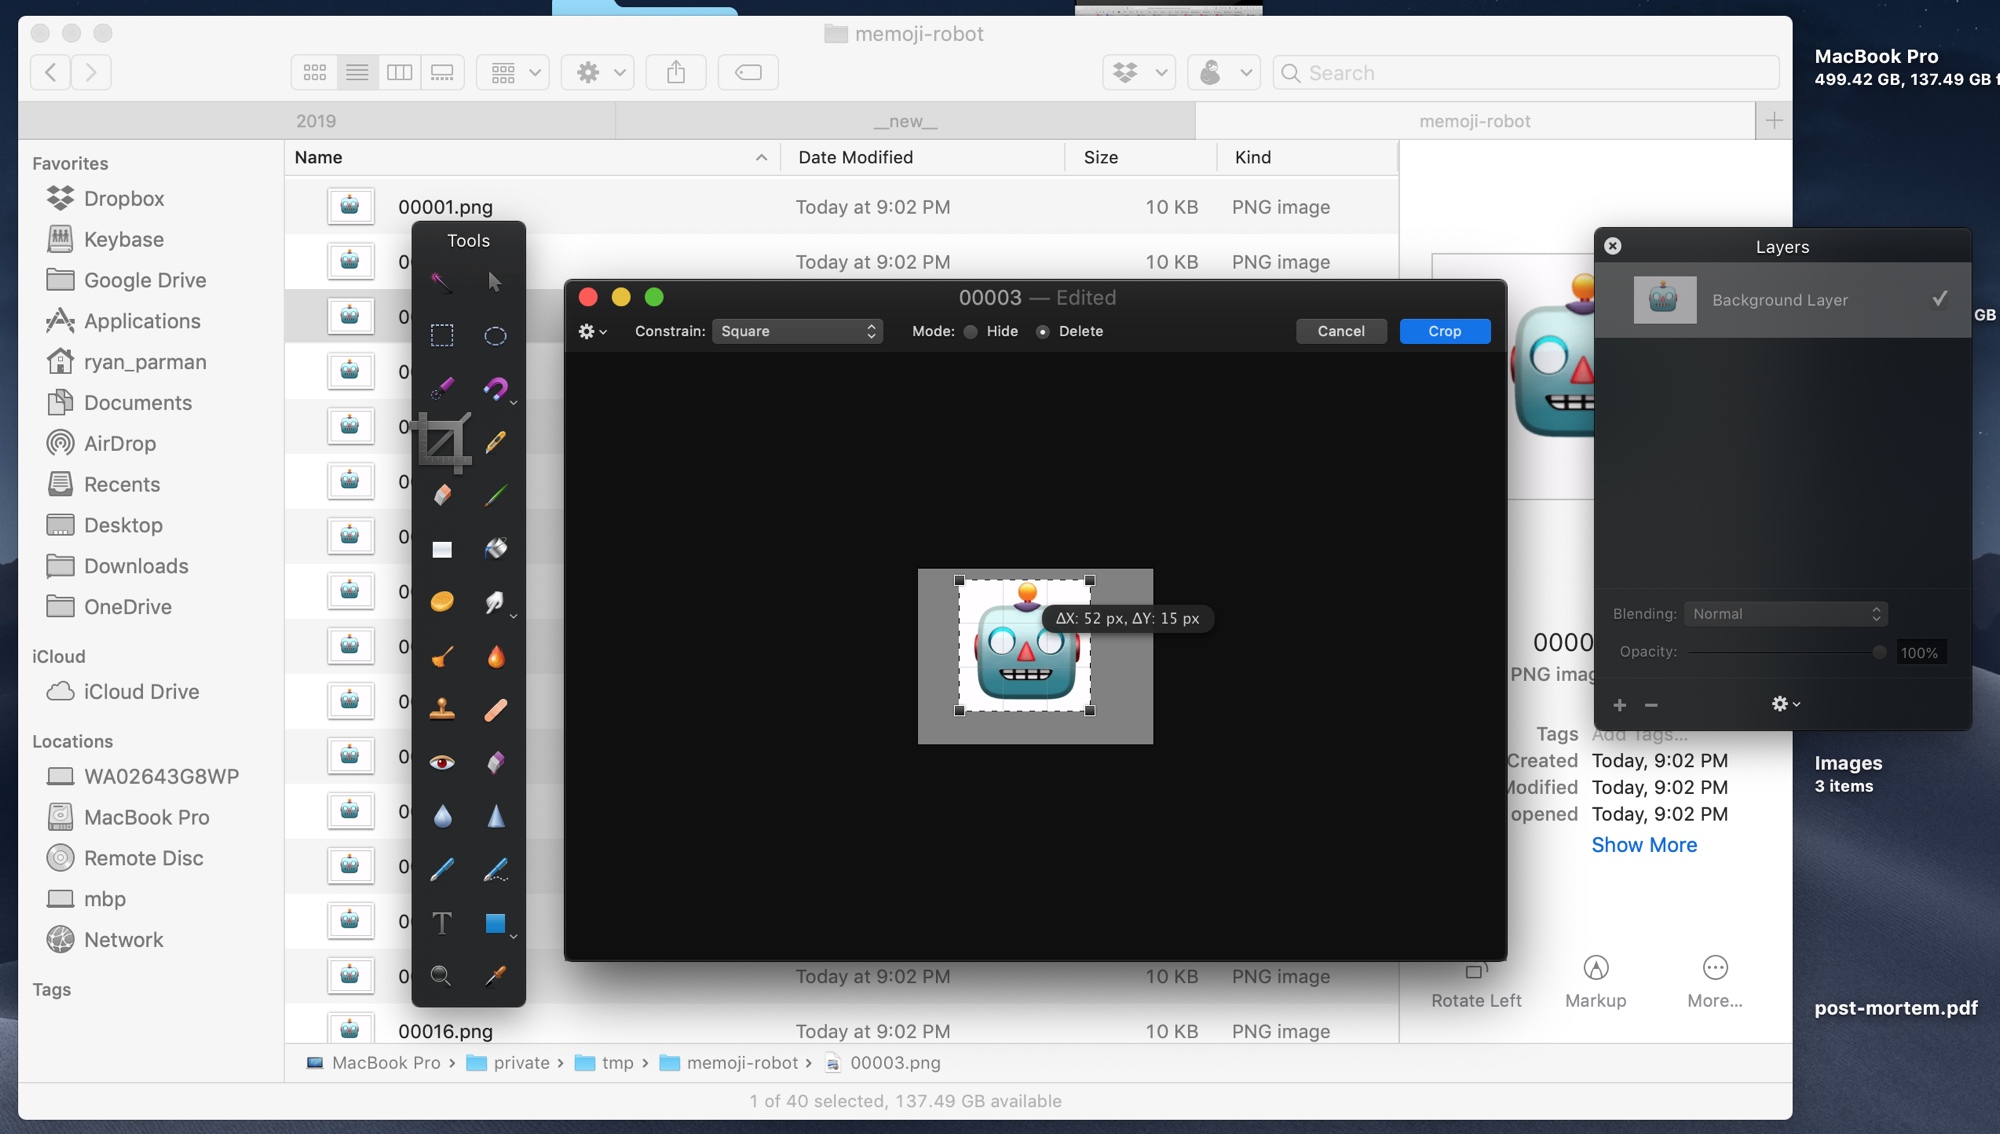
You’ll want to use your favorite image editing tool (e.g., Pixelmator, Photoshop). Crop as closely to the face as possible:
-
Keep every image an identical size.
-
Crop in an identical spot. Otherwise the frame location is going to be wrong.
-
You can use something like QuickLook to preview the frames. Feel free to delete any that don’t make the animation better.
-
Since you need to squeeze your animation into a maximum of 128kb, you have about 10–15 frames, tops.

-
-
Once the frame editing is complete, merge each frame back into a single GIF image.
convert -dispose 2 "/tmp/${ff}/*.png" "${ff}.gif" -
Cleanup once you’re done.
rm -Rf "/tmp/${ff}";
At the end, you will have a new animated GIF image that you can upload into Slack. 
Conclusion
With your new custom Slackmoji, you can bring your own style and personality to your Slack account. By borrowing some style from things that you enjoy, you can add a fun bit of flavor to your work conversations. 